

Step 1. Create an Account on BlueHost

The first thing you want to do is go to Bluehost and create an account. Then, on the homepage, click on the box that says “WordPress made easy.” Now, you choose this because if you initially go with a WordPress plan, it will automatically install WordPress for you on your new site.
When you choose this option, it will take you to another page that will give you a special offer for WordPress users. Next, click on the green “Get Started Now” button.
Step 2. Choose Your Hosting
Next, you have to choose your hosting plan. When I started M3, I had a hosting plan for only $3.95 per month, and you could do the same! Choose the plan that works best for you, depending on your needs.
When you start your WordPress blog, I suggest having domain privacy. What happens when you register a domain under your name is that there are online rosters that keep track of who owns which fields. If you do not have domain privacy, anyone can see your name, email, phone number, and address online. So, pick a plan that offers that security for you.
Step 3. Pick a Domain
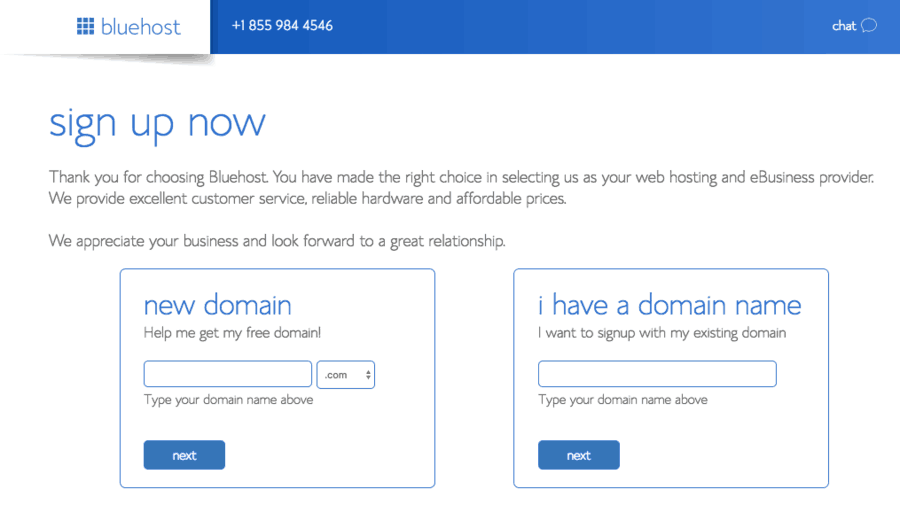
Once you choose your hosting plan, it is time to choose a domain name that fits your blog. I like the ways that Bluehost helps you with this because it checks to see if the domain is available before you can buy it. And if not, it allows you to search for other parts until you have an open environment.
If you already have a domain name you want your blog hosting to reside on, just add it to the section that reads, “I have a domain name.”
Step 4. Complete Your Account Information
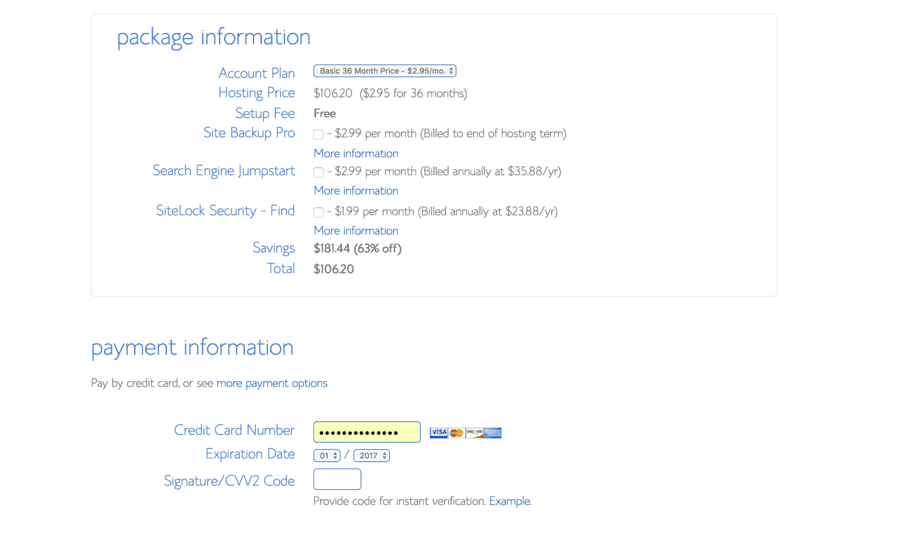
You can complete the rest of your information now that you have your domain name. This part is pretty simple since it is just putting in your personal info. This page also shows you how much you would be paying today to get your massive monthly discount.
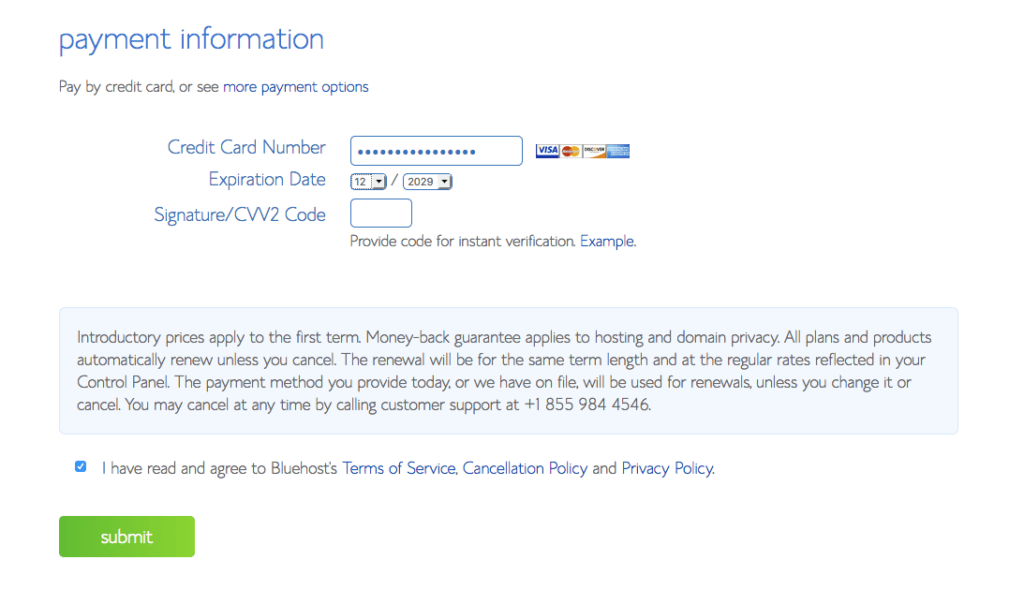
Once you complete all your info, the next step is adding your payment information. If you select a payment plan, this will be the card you use to make payments for your hosting.
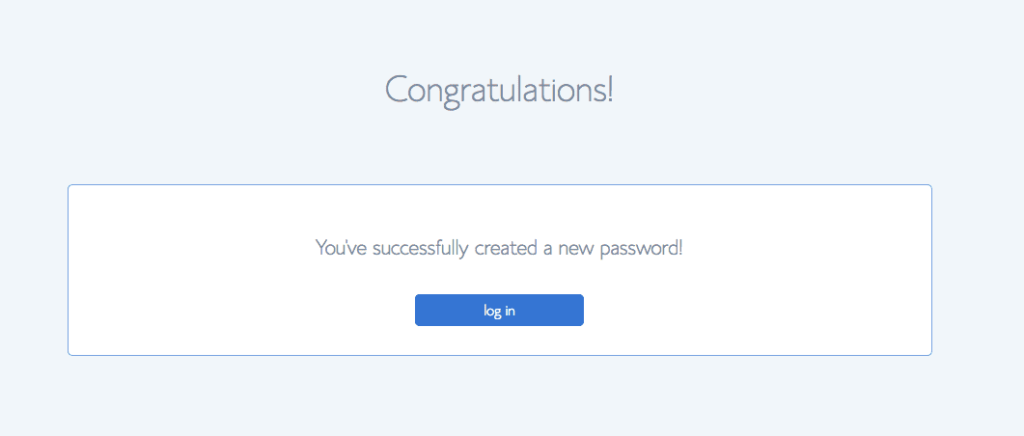
The last step to setting up your account is to set up a password. Again, ensure it is secure, as you do not want anyone hacking into your site.
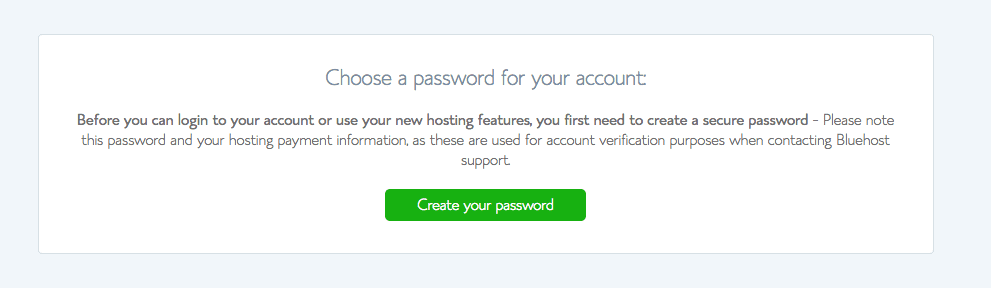
Once that is finished, you are now the proud owner of a new blog. HOORAY!!! But now it is time to get to business. Hit the blue button that says “login” to get started.
Step 5. Set Up WordPress
Once you complete the payment form, it’s time to get into the fun stuff to start your WordPress blog!
Step 6. Pick Your Theme
Once you create your hosting account, it is time to pick a WordPress theme. There are many themes out there. There are paid themes, and there are free themes.
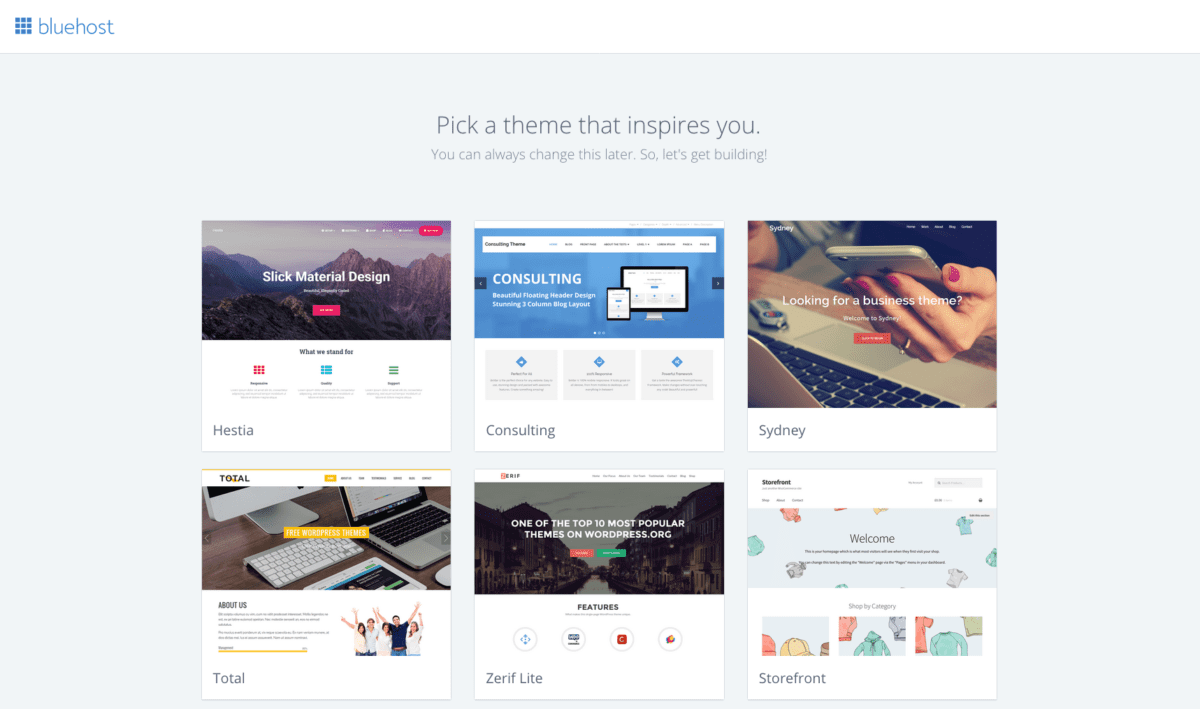
Bluehost will give you a nice variety of free themes to choose from. Just pick a style and make it your own. Of course, as you start growing, I highly recommend you go with a paid theme that fits more with your brand, but I started with free articles and did great!

Once you pick your theme, it’s time to start building! Hit the blue “Start Building” button to go to your WordPress Dashboard.
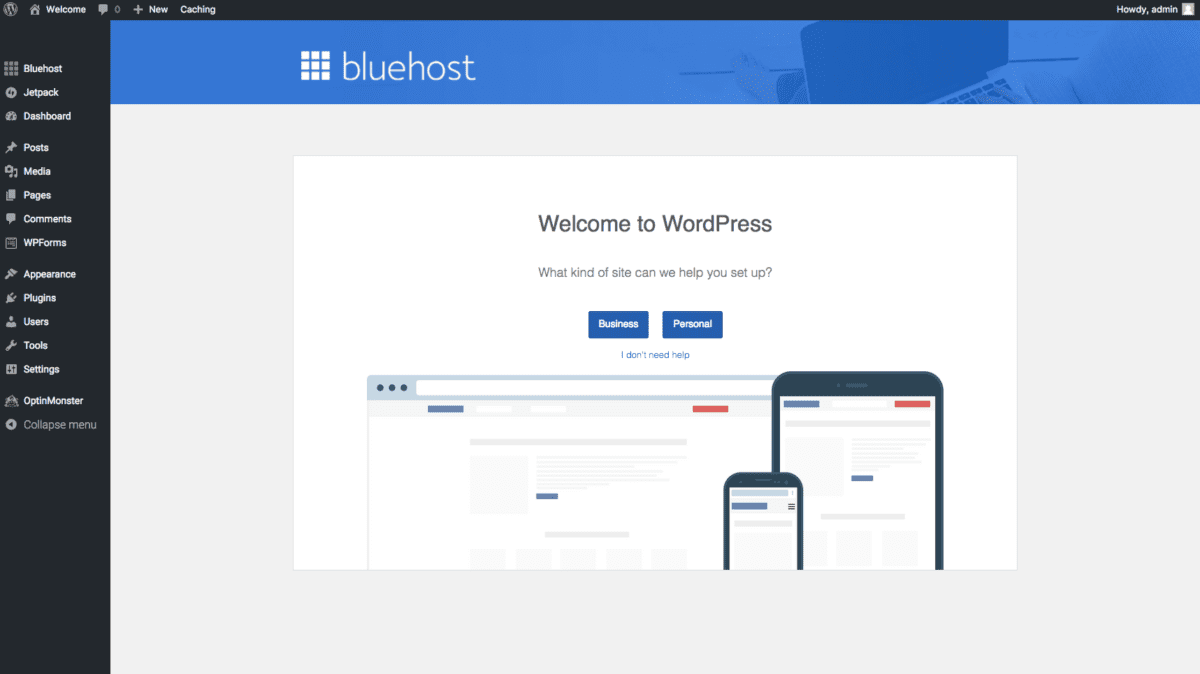
Step 7. Working in WordPress
Once you make it to your Dashboard, look around, as this will be your home for your website. To get to your Dashboard after today, simply type in yourdomain.com/wp-login.php. Once you enter your login information, you will return to this page. Select whether your blog is business or personal to get started from here.
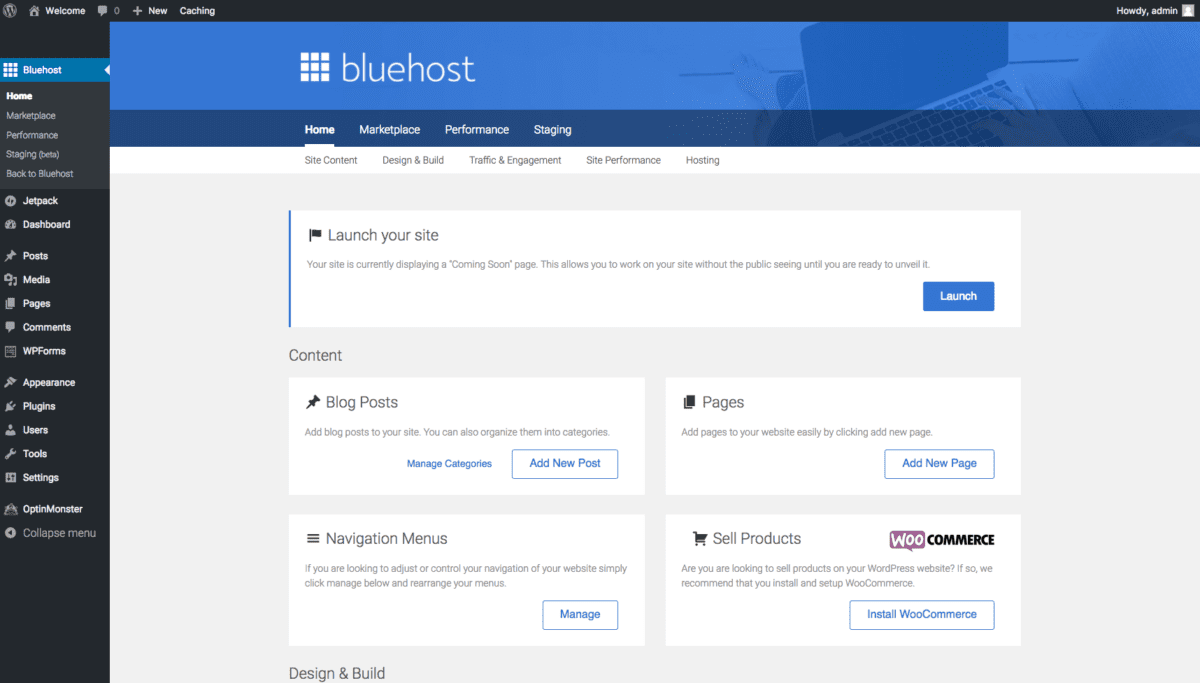
Now you are in! There are several things you can do to get started on your blog. You can create pages, write blog posts, choose your WordPress plugins, and even start an online store.
You can edit your “coming soon” page to say whatever you want while you get your content up and running. When you are ready for people to see your content, hit the blue “Launch” button.
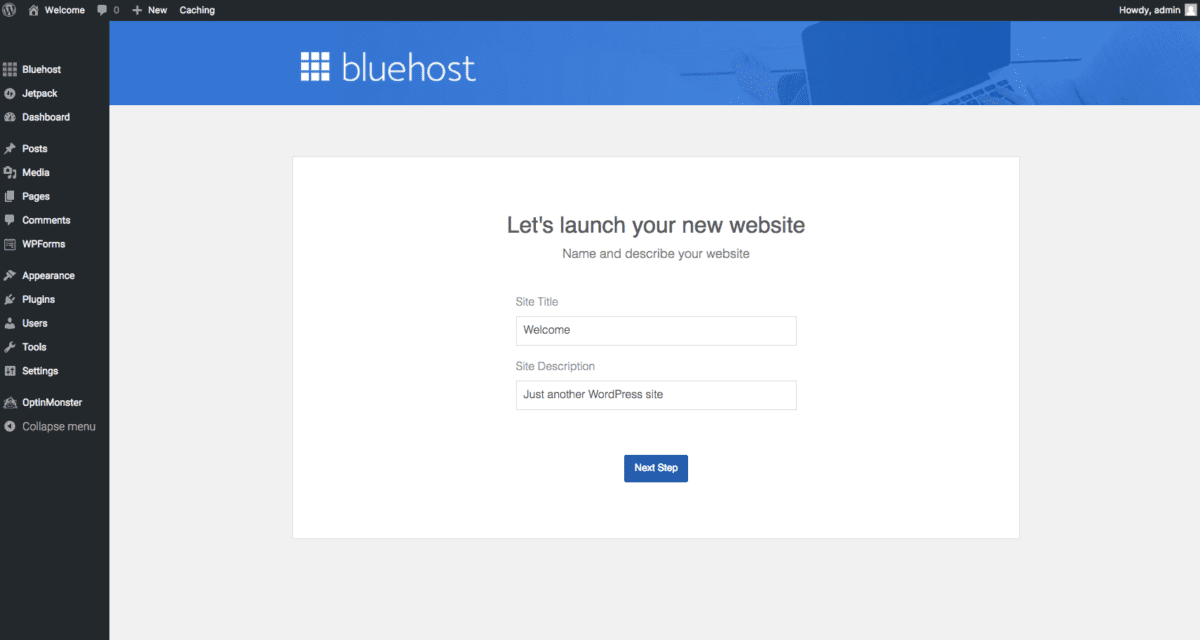
Once you launch, you can add your site’s name and description and click “Next Step.” And you are life!
You’re Done!
So, there you have it, a step-by-step guide to kick-starting your WordPress-hosted blog using Bluehost. Now it’s time to make money with it!